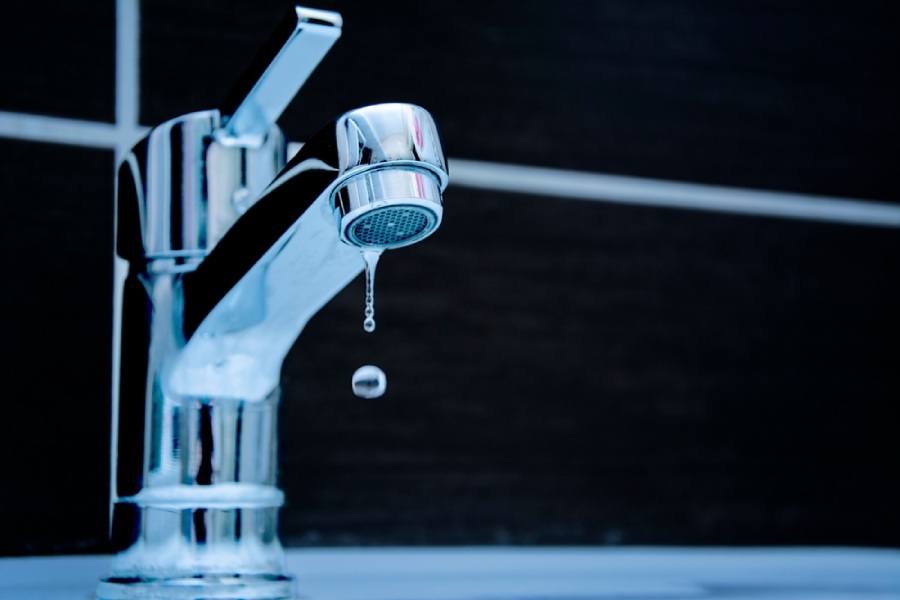
Hello, DIY enthusiasts and homemakers! Today, we’re diving into a common household nuisance that can drip-drip right on your nerves: leaky faucets. Whether it’s a persistent pitter-patter in your kitchen, bathroom, or garden, a leaky faucet can waste water and hike up your bills. Fear not, for we’ve compiled some savvy hacks for leaky faucet repair.
And remember, for those stubborn leaks that just won’t quit, Beach Plumbing in Orange County and Los Angeles County is just a call away.
Identify the Culprit
First off, let’s talk about how to stop a leaky faucet. The journey begins with identifying the type of faucet you have since the types of faucets dictate the repair route. Whether it’s a compression, cartridge, ball, or disc type, knowing your adversary is half the battle won.
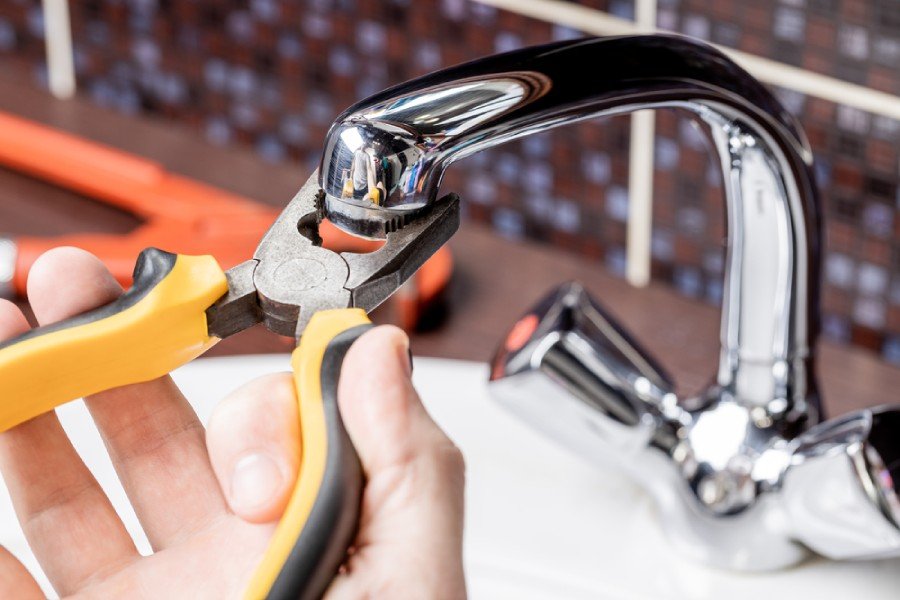
Tools of the Trade
Before you embark on your leaky conquest, arm yourself with some essential tools:
- Flathead screwdriver
- Needle-nose pliers
- Rubber washers and replacement parts as needed
Steps to Victory
1. Shut Off the Water
The cardinal rule of faucet repair: turn off the water. Locate the water shut-off valve under the sink and twist it to the off position. This move prevents an impromptu indoor flood, giving you a dry workspace.
2. Removing the Faucet Handle
Next, gently remove the stem or handle. This might require loosening a set screw with your flathead screwdriver or removing a retaining clip. Be patient; some fixtures are more finicky than others.
3. Inspect and Replace
With the handle off, it’s time to inspect the rubber washers, valve seat, and faucet stem. These parts often endure the most of wear and tear, leading to leaks. If they look worn or damaged, head to your local hardware store for a replacement part.
- Fix leaky bathtub faucet and how to fix a leaky bathroom faucet: Focus on the valve seat and washers, as mineral deposits here are a common culprit.
- How to fix a leaky kitchen faucet: Check the faucet stem and O-rings for signs of damage.
- Leaky outdoor faucet: Ensure the retaining nut is tight and replace if necessary.
4. Reassemble the Faucet
After replacing any faulty parts, it’s time to reassemble the faucet. Reverse the disassembly steps, ensuring everything is snug and secure. Don’t forget to replace any retaining clips or nuts you removed.
5. Test Your Work
With everything back in place, turn on the water by turning the water shut-off valve back to its on position. Watch the faucet for leaks and test the handle’s movement. A smooth operation with no drips is your goal.
Additional Tips
- Remaining water in the pipes can cause a false alarm. Run the faucet for a minute to clear out any leftover water before doing a leak test.
- Water pressure issues can sometimes mimic or cause leaks. If problems persist after a repair, this might be the area to investigate next.
When to Call the Pros
While these hacks can save the day for minor leaks, some situations call for the cavalry. Persistent leaks, complex faucet models, or deeper plumbing issues are battles best left to the professionals. Beach Plumbing boasts a team of experienced warriors ready to conquer your leaky faucets and more, ensuring peace and dryness return to your domain.
In Conclusion
Fixing a leaky faucet can be a rewarding DIY project, saving you money and preventing water waste. With the right tools and a bit of know-how, how to fix a leaky kitchen faucet, bathroom faucet, or any other dripping fiend becomes an achievable mission. However, it’s crucial to know when to tag in the experts.
For those in Orange County and Los Angeles County, Beach Plumbing is your go-to for leaky faucet repair and all your plumbing needs. Don’t let a drip defeat you; grab your tools or grab your phone and call the pros. Happy fixing!